Pottery Barn Santa DIY
Confession time. I’ve been wanting to make the Pottery Barn Santa Canvas for a couple of years now. His jolly face starts showing up in my Pinterest feed starting in September, taunting me until the end of January when Easter DIY takes over. This year Santa’s smiling face and jaunty hat will be MINE!
Who me, dramatic? Never!! But seriously, it has been a few years. I read a couple of the Pottery Barn DIY posts on Pinterest, and after dropping my son off at preschool, headed to Hobby Lobby to get some supplies, most of which were even on sale!
What I bought
Red paint, a big bottle of glitter glue, and some new brushes because it was 50% off.
What I didn’t buy
A Canvas. I just didn’t want to spend the money to get a large canvas. Not knowing how it would work out, I just wasn’t willing to put a lot of money into this project. Even using the 40% online coupon I couldn’t convince myself to open my wallet that wide.
 What I did
Stopping at two of my favorite thrift stores on the way home, I looked at what they had in their art section. Lo and behold, there was a large canvas for $5. Yeah there was a bikini clad Tahitian woman on the front, but at that price? SOLD!
I’ll admit, I did feel a little guilty for painting over a canvas someone else had spent some time making and my apologies to the original artist for eradicating their art, but in my defense, it was in a thrift store, so I’m not going to feel guilty. Well, maybe just a little guilty.
Since there were some rather dark colors on the canvas, it took a couple of coats of the white paint, but in the end, it was good enough and I kinda love the additional texture. Voila cheap white canvas.
When everyone was all nestled in their beds, I took out our movie projector and traced the Santa outline in pencil on to the canvas. It really didn’t look like much of anything and I was sure it wasn’t going to work out. So congratulating myself on my thriftiness and sure this was going to be a waste of time, I went to bed.
 The next morning while my son was at preschool, I took out the red paint and painted it out in about an hour or so. I kept looking at it and just not really liking how it was looking, but since I started, I told myself I should see it through.
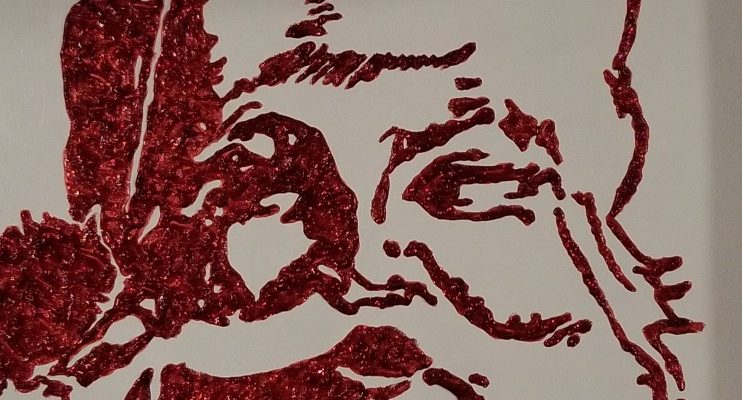
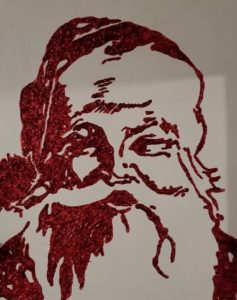
When it was finished I still didn’t like it. But I put it on the wall to dry, took went to wash a few dishes in the sink and all of a sudden, there was Santa in all of his Pottery Barn glory. My goodness, I did it! I touched up a couple of spots and ran off to pick up my son.
When he came in the front door and into the kitchen, he saw the painting hanging on the wall and cried out “Santa!!!”. Yeah, you can imagine how big the smile was on my face. Three-year-olds don’t lie.
The final step was the glitter glue. I could have used Elmer’s glue and just bought the glitter, but the last project involving glitter didn’t clean up as nice as I would have liked, and it took a few months before the glitter stopped showing up everywhere unannounced.
When you’re painting with the glitter glue, it’s really hard to get a flat coat, so just don’t bother. Squeeze the large bottle over the canvas and then make sure to lay it flat somewhere for a couple of days so the glue doesn’t shift. Gravity and glitter glue are not a good combo. As the glue dries, it mostly flattens out on the canvas. It would have been more sparkly with some of the other glitter, but again, if it comes to glitter everywhere or glitter on the canvas where I want it? Glitter on the canvas wins.
Now the Santa canvas is in my living room right over the piano, making me smile every time I enter or leave the house. I’m thinking it might need a big chunky frame. Hmmm… wonder if I can find that on Pinterest. 🙂
